Have you been hankering to try stitching EPP curves? Well, now is the time!
In the fourth and final pattern of the English Paper Piecing skill-building series, Flowers & Butterflies, we are diving into curves! In this post, you'll learn more about the pattern and how you can participate in the stitch-along. Let's go!
New to the EPP Skill-building Series? Start here.
Flowers & Butterflies is an English Paper Piecing (EPP) pattern series designed to help you develop and build your English paper piecing skills one pattern at a time. There are a total of four different patterns in the series, each one designed to help you develop a different EPP skill.
We began the series with the basics of English paper piecing. We covered how to glue baste and stitch hexagons together using the traditional hand-stitching technique known as English paper piecing. This pattern is perfect for complete beginners to EPP.
The second pattern in the series took us beyond hexagons into working with skinny shapes and sharp points. This pattern is designed to help you practice and develop your skill in bringing several points together into one spot and how to handle all of those seam allowances in one place.
In the third pattern, we took a deep dive into fussy cutting, covering what fussy cutting is, how to choose the best fabrics for fussy cutting, how to make your own DIY fussy cutting templates, and how to use those templates to fussy cut fabric for the flower and butterfly in this pattern. This is a great pattern to practice all of these fussy cutting skills in one go.
The fourth and final pattern in the series will help you develop one of the most advanced skills in English paper piecing; How to Sew Curved Shapes!
This is the climax of the entire skill-building series. And I'm really looking forward to stitching this pattern along with you!

EPP Curves
Basting and stitching curves is a lot easier than you might think! Basically, there are only two types of curves you'll come across in your EPP adventures; concave and convex.
Convex Curves
A convex curve is a curve that is outward-facing, or another way I like to think of it as a curve that bulges outward. This is the easiest type of curve to English paper piece because it doesn't require any special prep.
Whether you're a glue baster or a thread baster, convex curves are easy peasy. In the stitch-along videos I show you exactly how to handle them.

Concave Curves
A concave curve is a curve that is inward-facing. In other words, it's a curve that's hollow or cave-like. This type of curve requires some pre-prep to the fabric before basting and stitching. Don't worry, I'm going to teach you exactly what you need to do with concave curves in the stitch along.
If you’ve been following the series and want to
get straight to the pattern, scroll down this page.
The EPP Curves Stitch Along
Each week, I will post a prerecorded stitch-along video on my YouTube channel. I will also add it to this page. You'll be able to watch it right here when I do.
So it's a good idea to bookmark this page so you can come back to it when you're ready to move on to the next part of the stitch-along.
There will be a total of four videos in the stitch-along:
- Pattern Overview and Lookbook
- EPP Curved Flower
- EPP Curved Butterfly
- Project: Hanging Mobile
In the end, I'll show you how to take all of the flowers and butterflies you've made so far in the skill-building series and make a beautiful hanging mobile out of them.
The EPP Curves Pattern
In this pattern, you'll learn how to work with curves to create beautiful English paper-pieced flowers and butterflies.
You'll also get to use all of the skills you've learned so far in the series and bring them all together into one single project, from the basics of EPP to sharp points, and even fussy cutting, while adding in curves.
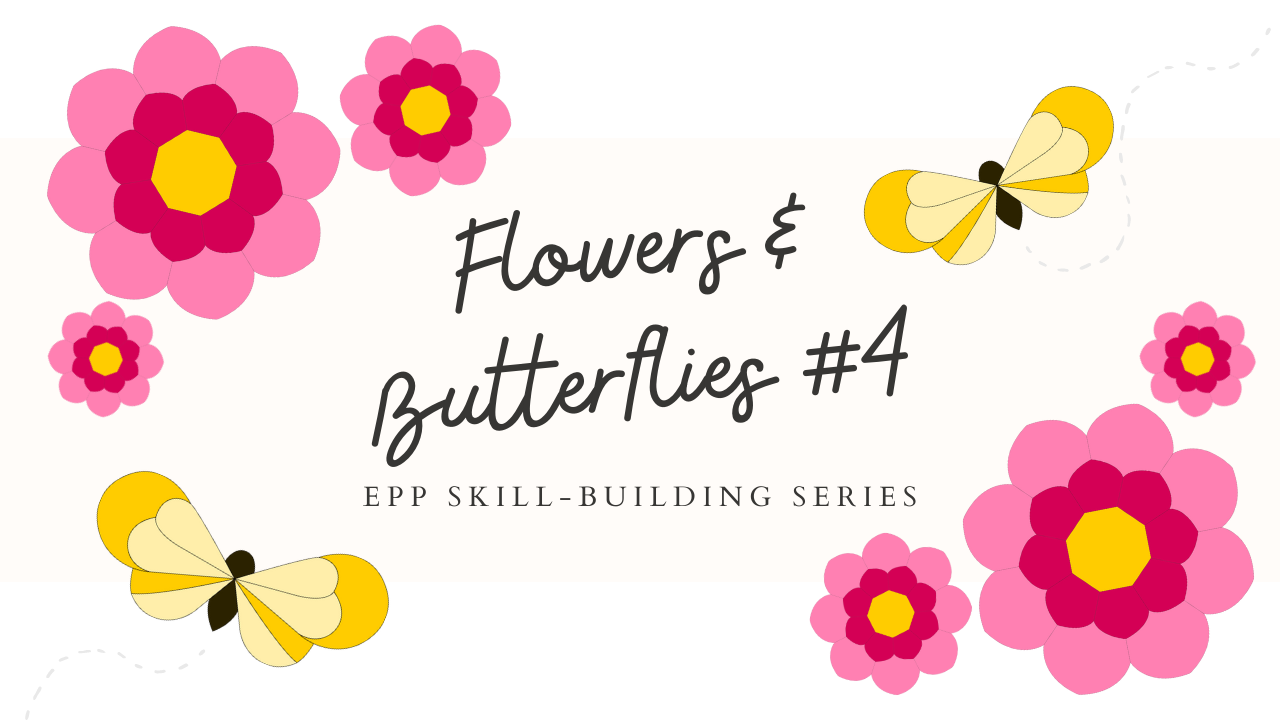
 The fourth pattern in the English paper piecing skill-building series, Flowers & Butterflies.
The pattern includes detailed instructions, step-by-step assembly diagrams, and template sheets in three different sizes for both the flower and butterfly. So if you enjoy cutting your own templates then all you need is the pattern, your stitching supplies, and some fabric.
If you'd rather not have to cut out your own templates, you can find premade templates in my shop.
Join the EPP Curves Stitch Along
There are four stitch-along videos that will go with this pattern. I’ll be posting them below as they are released.
Let’s get started!
Step 1: Get the Pattern
The PDF pattern can be viewed on any computer or mobile device or printed as needed.
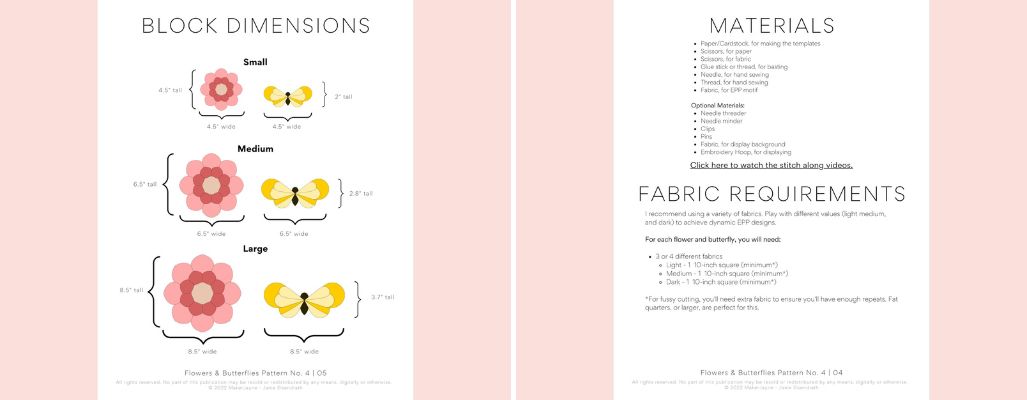 EPP Curves Pattern Block Dimensions, Materials, and Fabric Requirements
Step 2: Prepare your templates
You have two options for getting your templates:
- Cut your own templates using the template sheets included inside the PDF pattern.
- Purchase premade paper templates.
 EPP Curves Flower and Butterfly templates.
Shop the templates here.
Step 3: Join the community
Join the private Facebook Group! It’s a safe place to share your makes with all the others who are joining in the stitch-along. You can also ask questions, get feedback, and connect with fellow EPPers, too!
 English Paper Piecing Party Facebook Group banner
Step 4: Watch the stitch-along videos
Each of the stitch-along videos will be posted below as they are released.
Each video will cover one of the following topics: pattern overview & lookbook inspiration, flower assembly, butterfly assembly, and project assembly.
Bookmark this page so you can come back to it each week as each video is released. You can also visit my YouTube channel if you want to make yourself a playlist that you can easily get to.
Curves Pattern Overview
In the first video, I give a brief overview of the curves pattern and explain how to use the included template sheets to make your own templates.
You'll also see what the finished flowers and butterflies look like in all three sizes so you can better decide which size you want to make and get ideas on color and fabric arrangement to inspire your fabric pulls for this project.
EPP Curves Flower
In this video, you'll learn step-by-step how to baste and stitch your EPP Curves, as you assemble your flower. You'll also learn my best tips for working with concave and convex curves in English paper piecing.
EPP Curves Butterfly
The butterfly is the most advanced of the two motifs in this pattern. In this video, you'll learn step-by-step how to baste fabric onto your shapes with concave and convex curves, and how to stitch your pieces together. I'll be sharing my best tips for working with curves and how to wrangle all of those points into one spot.
Project Assembly
The final stitch-along video for this pattern will walk you through the process of turning your flowers and butterflies into a beautiful hanging mobile using some basic supplies you can find at your local craft store.
It's a super fun project that is perfect for giving as a gift or decorating a room. I think you're going to love it!
Step 5: Share Your Experience
After you've watched the stitch-along videos and your project is finished, you can share your project and your experience during this stitch-along and skill-building series! We would love to hear from you.
Is there a new skill you learned or an old skill you’ve seen improvement in while stitching this pattern? Share your photos and tell us about what you've learned in the private Facebook Group. Looking forward to seeing you!
Want More Inspiration?
Subscribe to our newsletter to get free patterns, tutorials,
updates, and inspiration delivered right to your inbox.


